Photography is a vital element in showcasing your products effectively online and driving sales. Great ecommerce product photography can significantly impact your online store’s success by enhancing your products’ visual appeal, building trust with potential customers, increasing the perceived value of your offerings, and even influencing purchasing decisions.
We’ve gathered together our top tips and tricks for getting the most out of your product photos. These tips are targeted at shop owners using Shopify since that’s our ecommerce platform of choice, but even if you’re working on another system you’re sure to find something that will help you optimize your imagery.
Types of photos that you need
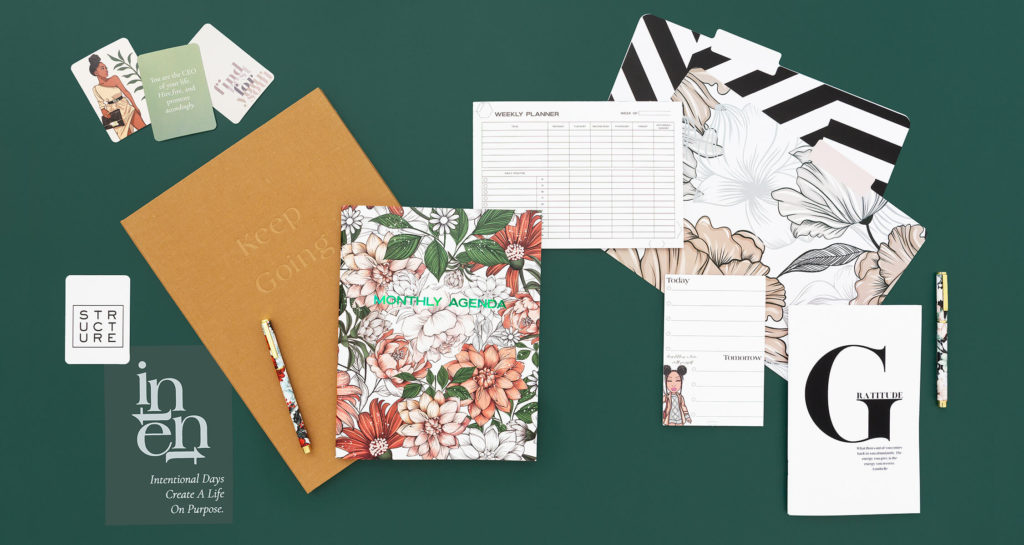
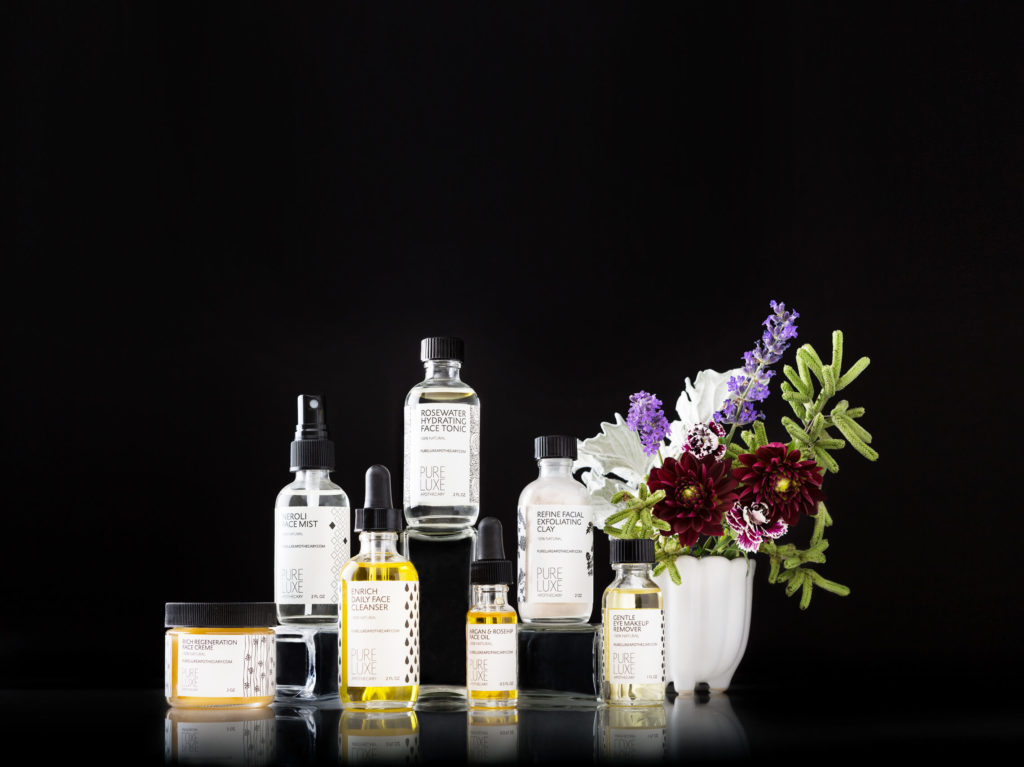
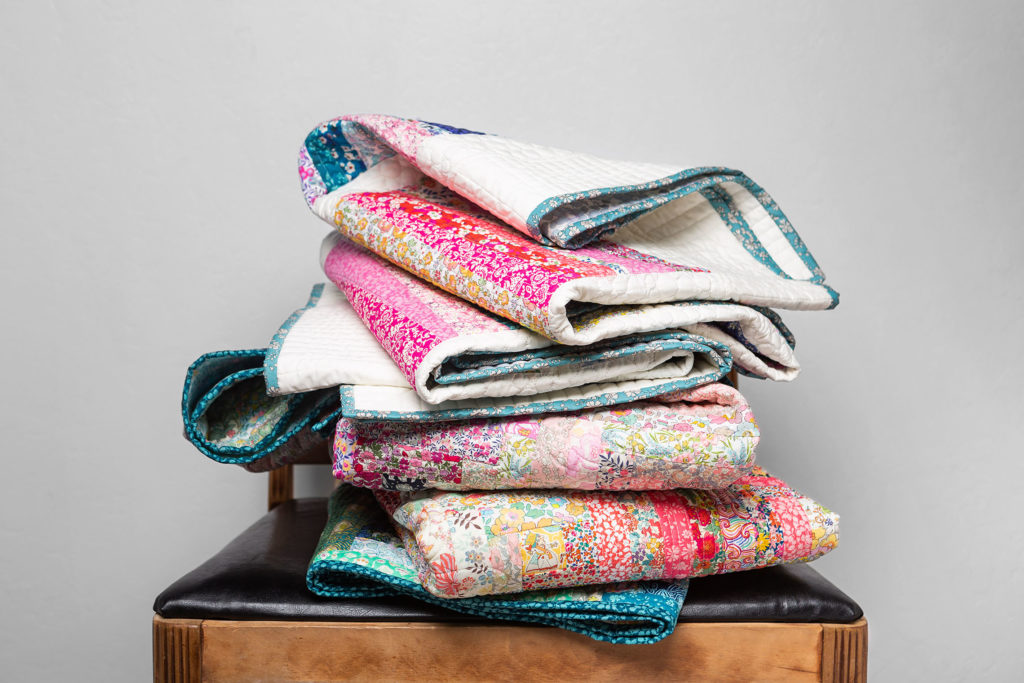
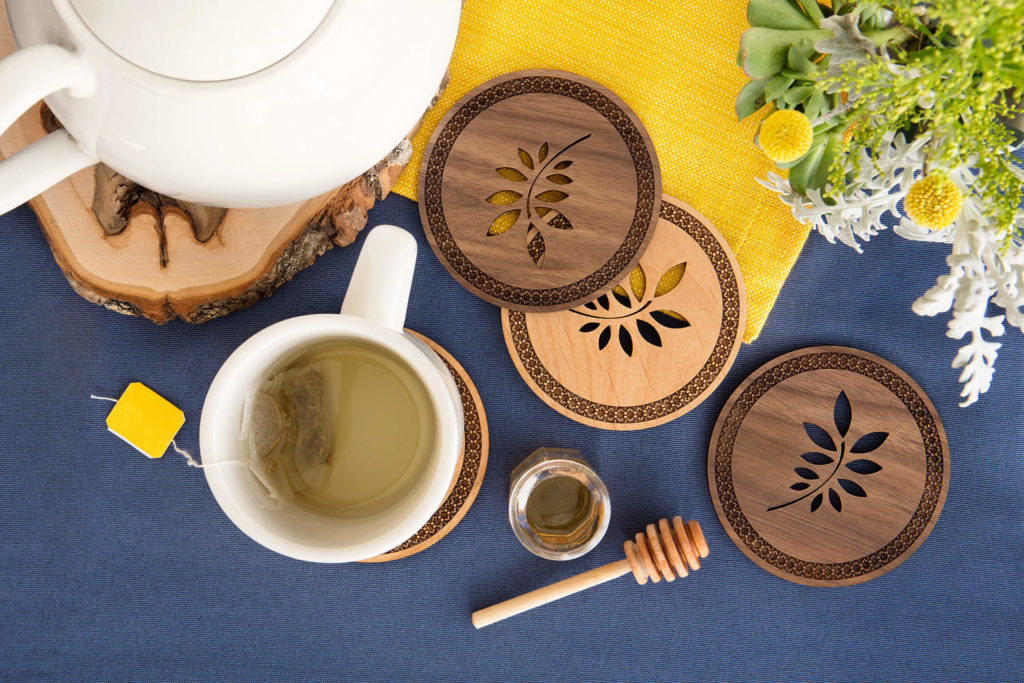
Online shop owners will generally need two kinds of photos: lifestyle photos and white background photos.
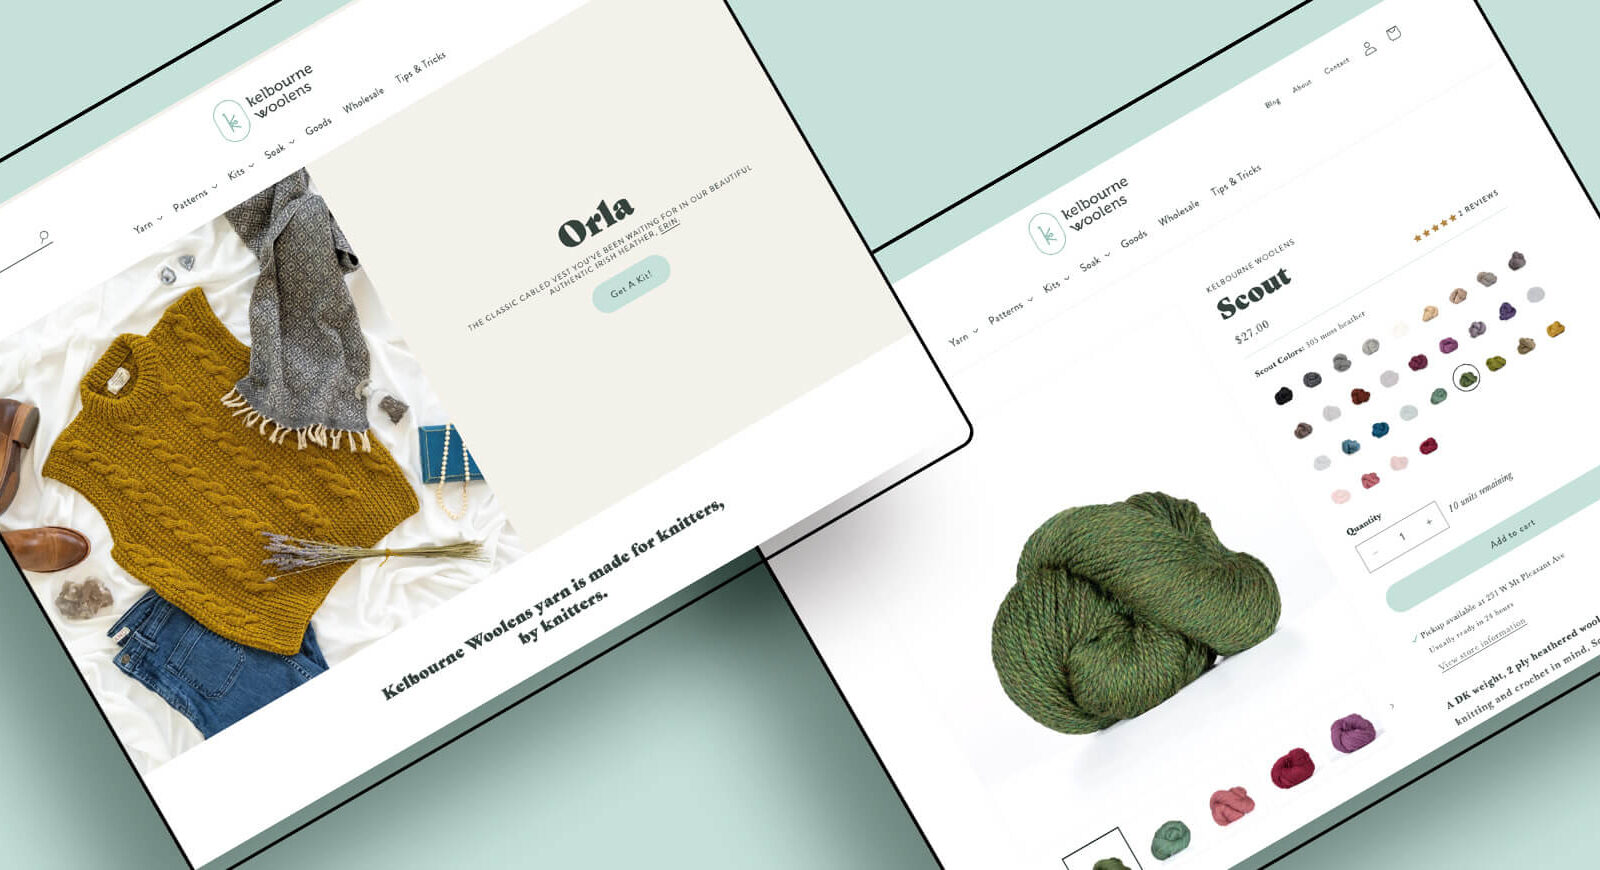
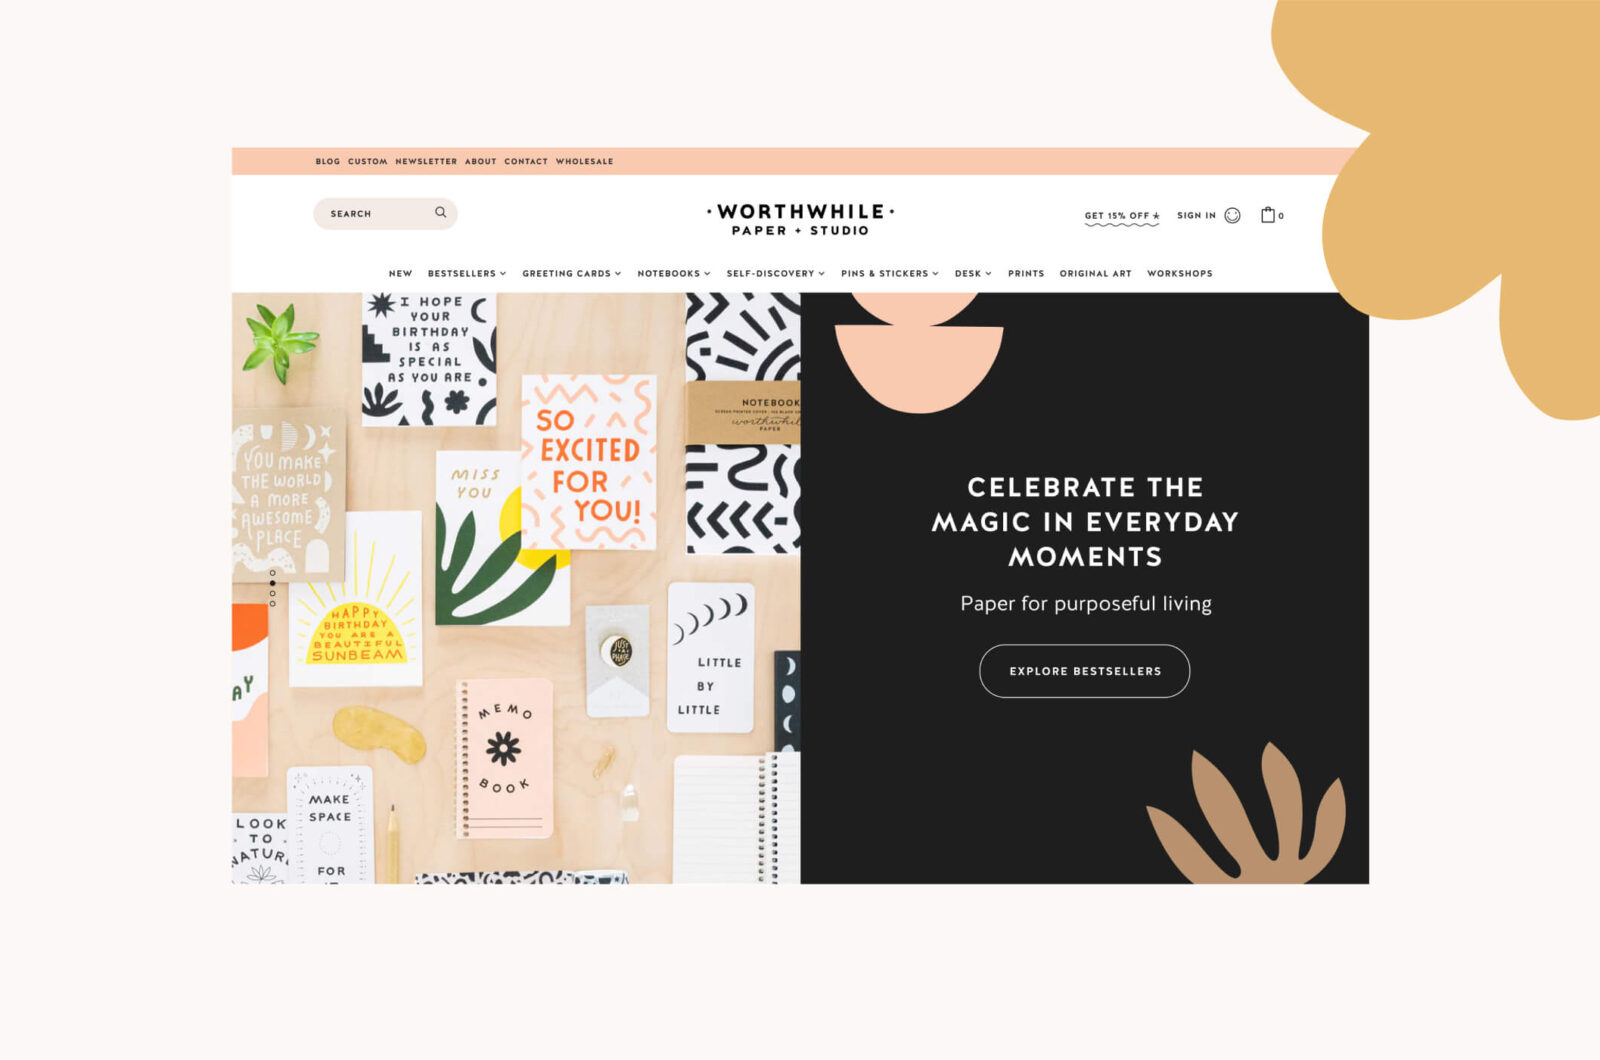
Lifestyle photos tell a story that your ideal customer will relate to. This type of photography includes on-brand props, backdrops, and even models. Lifestyle photos will take center stage on your website’s homepage and also play a key role in your social media and email marketing.
White background photos help shoppers understand all the nuances of the product, without any distraction. These shots clarify the features, details, and options that your product has to offer. White background photos are essential for your product pages as well as editorial features and gift guides.
Plan your shoot
Careful planning is crucial for a successful product photoshoot. A good camera or smartphone, tripod, and lighting setup are essential for capturing clear and attractive product images. Professional equipment can make a difference.
For weekly tips like this, subscribe to our newsletter
"*" indicates required fields
The choice of background can greatly impact the overall look of your product photos. Be sure to select a background that complements your product’s aesthetics. Proper lighting is the key to capturing your product’s details accurately. Experiment with natural and artificial lighting to find the best setup for your products. Skillshare has a ton of great tutorials all about product photography. These videos can be a huge help if you’re going the DIY route!

Edit and retouch
Post-processing is an essential step in product photography. It is often a good idea to take the time to manually and thoughtfully crop your primary product image for each product. These featured images are shown in the category view on your website and any other place the product may be featured, so it’s especially important for them to be compelling and well-thought-out.
Since Shopify doesn’t crop your images down for thumbnails (it scales them down without cropping), you’ll get the best results by handling the cropping yourself before uploading your images. This is also a good opportunity to make sure the aspect ratios are consistent, for example, all square or all portrait-oriented.
Optimize for ecommerce
Lastly, ensure that your product photos are optimized for ecommerce. This includes proper image sizing and resolution, as well as ensuring fast loading times for your website.
- It’s a good idea to upload your images as large as possible. The thumbnail sizes are auto-created for you by Shopify, but zoom features and retina displays depend on having large originals to work with. The largest image size Shopify will let you use at the time of this writing is 2048 pixels square, so you’ll want to save your images with 2048 as the largest dimension.
- Next, you’ll want to compress your images. While we want to use nice large images, we’ve got to balance that with having a site that loads as quickly as possible. If you’re a Photoshop maven, you can use the “Save for web” dialog to finesse your image output, balancing compression and file quality with file size, or you can use a free online tool like Tinypng.
- Be thoughtful about naming your files. Your file names can impact how images function online and can affect how images appear in Google search results. All file names should be lowercase, and contain only letters and numbers. File names should never contain spaces – instead use hyphens (underscores can also be okay, but I prefer hyphens as they’re more visible). Filenames with special characters and spaces can break on some computers and browsers, so keep it simple!
- Don’t forget to add alt text. This is a short description that is displayed when an image cannot be loaded or is read aloud by screen readers for visually impaired users. Another important reason to include alt text is for its SEO benefits. When writing alt text, use relevant keywords and keep it descriptive.
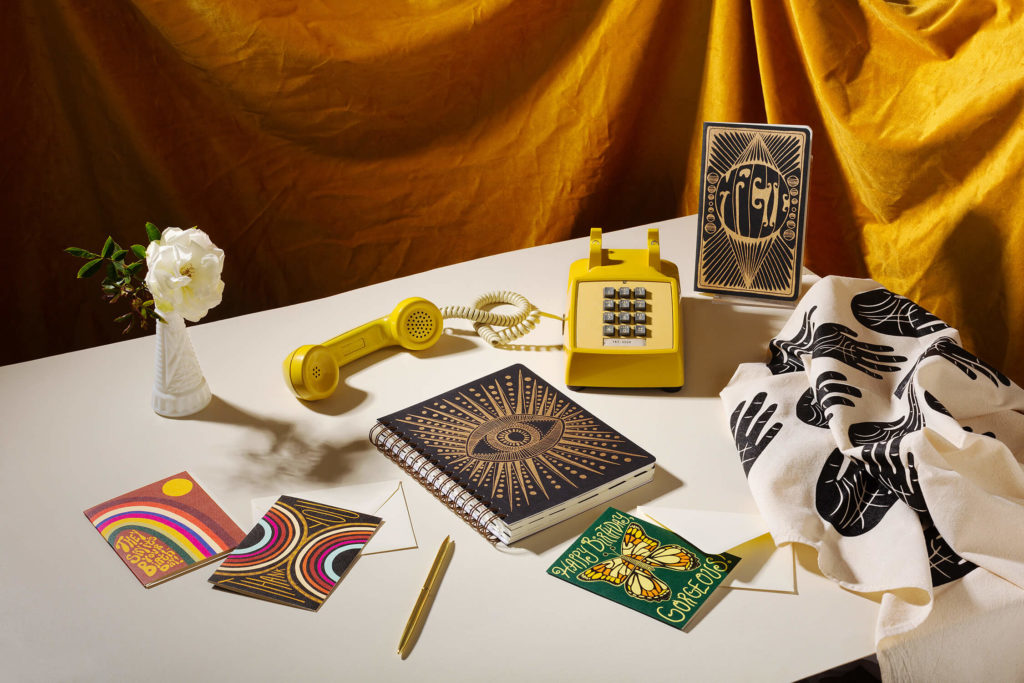
Get help with your ecommerce product photography
For compelling, on-brand lifestyle photos, consider hiring our in-house photographer, Jen, who specializes in product photography for ecommerce. For help with your white background photos, we recommend soona and Products On White photography. They’ve done great work for several of our clients.
High-quality product photos are not just pictures; they’re your brand’s visual ambassadors, and they can make a significant impact on your business. Start implementing these tips today, and watch your product photos shine!
A Newsletter That Goes Beyond Shopify 101
It’s easy to find beginner info about ecommerce online. If you’re past that? Subscribe to our newsletter for advanced strategies and need-to-know info for established shops. You'll get:
- Weekly tips to help you market and sell your products
- Updates when there is news that may impact your site
- Round ups of interesting links and info for brands
- Invites to our live trainings and webinars
- Instant access to our past emails
"*" indicates required fields
Related Posts
Let's take your online shop to the next level
The Shopify websites we design have a reputation for substantial improvements to ecommerce conversion rates and online sales. Let's talk!












1 thought on “How to Master Ecommerce Product Photography”